Experiencing issues with your heating or cooling system can be frustrating, but before you call in a professional, it’s a good idea to check if your thermostat is functioning correctly.
Testing thermostat wires is a straightforward process that can save you time and money.
Here’s a detailed guide to help you troubleshoot your thermostat using a multimeter.

Verifying Thermostat Wiring Connections
It is important to visually inspecting the wiring and check all the connections are intact before even using a multimeter.
This is the first step to ensure the integrity of wiring connections and can help maintain the optimal performance of your HVAC system.
Ohm Meter Testing: Step by Step Guide for Testing Thermostat Wires
1. Safety First
- Before you begin, ensure safety by turning off the power to your thermostat and HVAC system at the circuit breaker.
2. Accessing the Thermostat
- Carefully remove the thermostat cover plate. This might require a screwdriver to gently separate the cover from the body.
3. Removing the Thermostat
- Unscrew the thermostat from its wall mount to access the wires.
4. Identifying and Labeling Wires
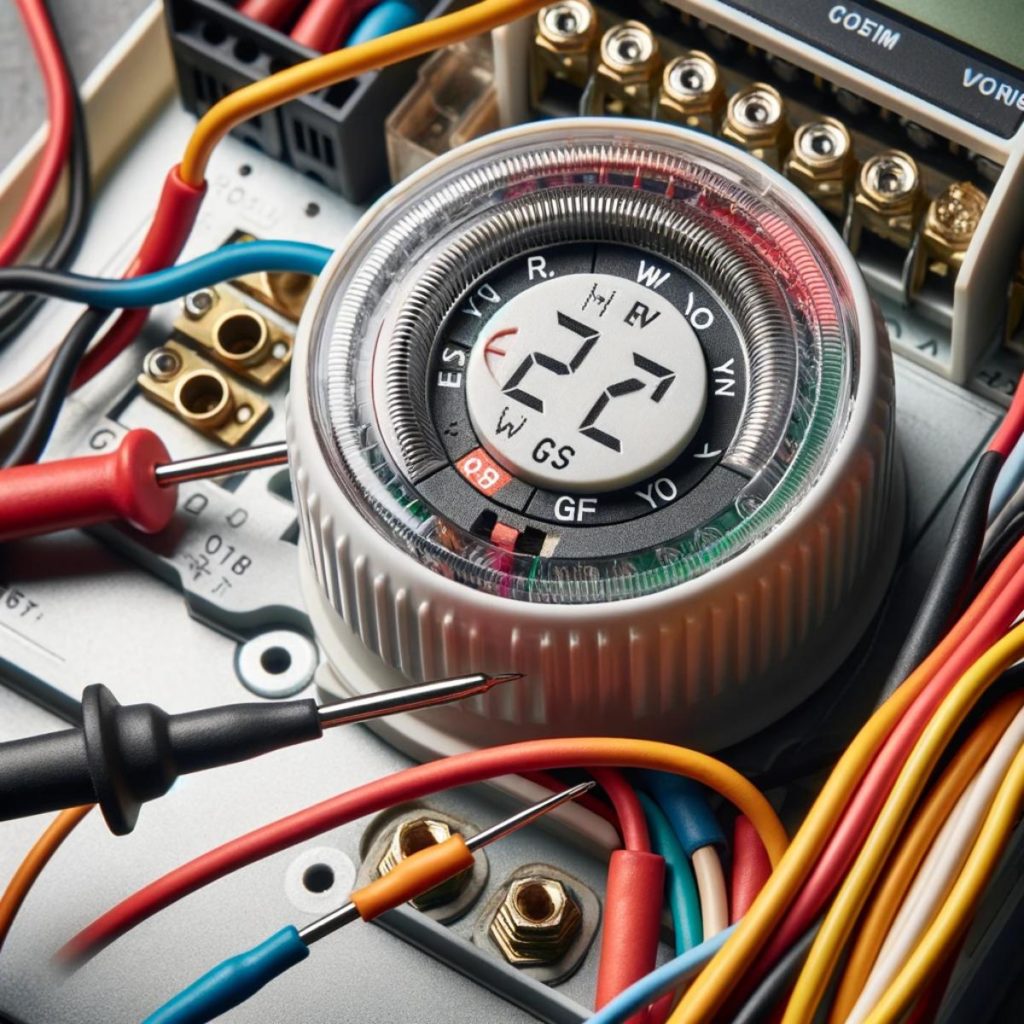
- You’ll find wires typically labeled R, W, Y, G, and C. Labeling them can prevent confusion during reassembly.
5. Preparing for Testing
- Without altering the connections inside the thermostat, twist together the free ends of the R and W wires.
6. Setting Up the Multimeter
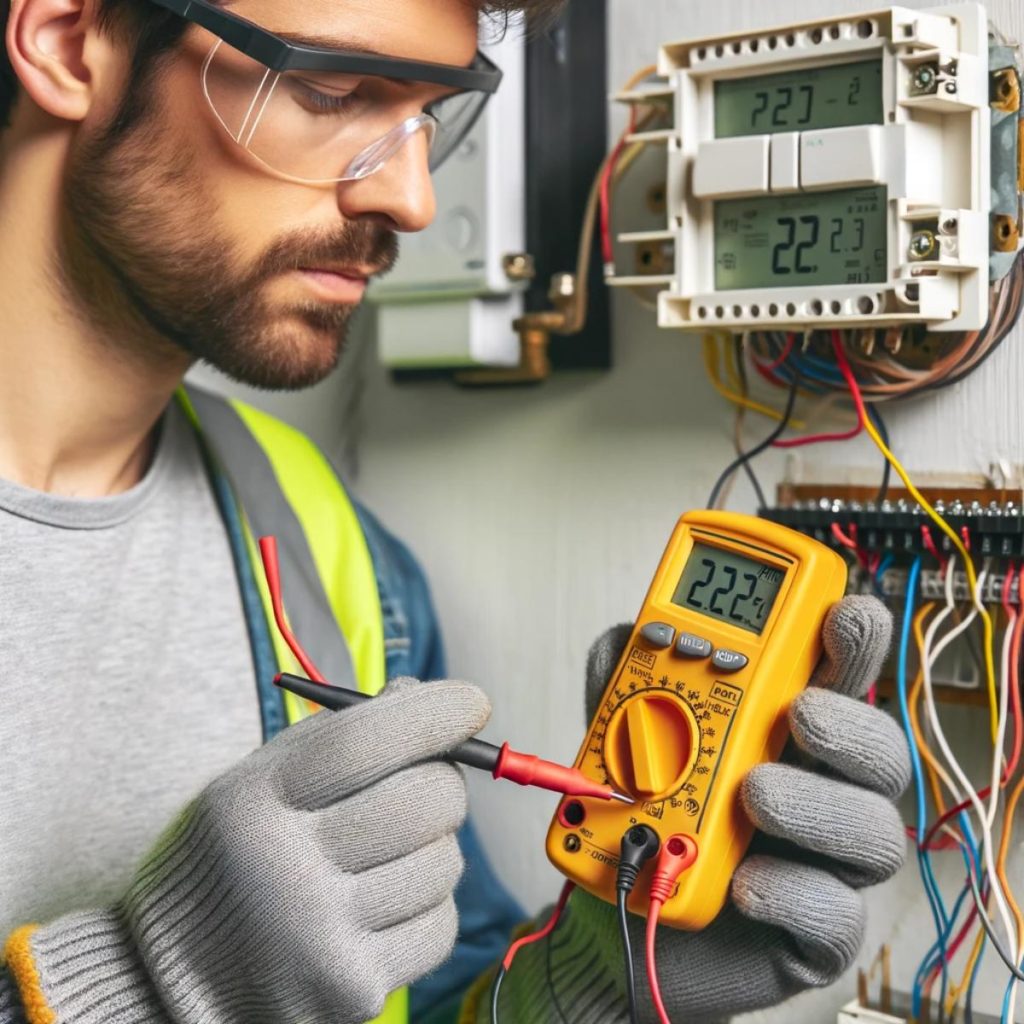
- Turn the multimeter dial to the ohms (Ω) function to test resistance.
7. Checking Multimeter Functionality
- Touch the multimeter leads together. A beeping sound or a zero reading confirms the multimeter is functioning correctly.
8. Testing Wire Continuity
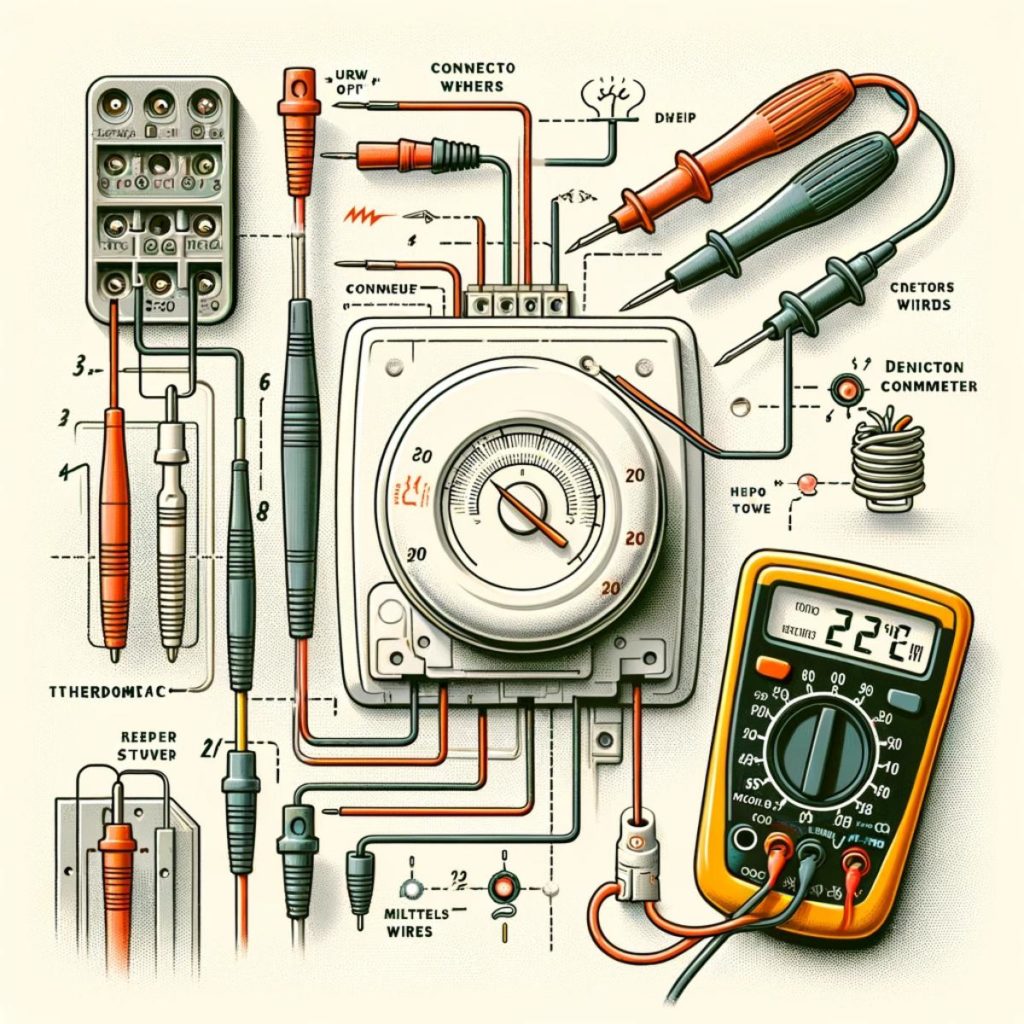
- Place the multimeter leads on the R and W terminals. A beep or a reading near zero indicates good continuity. Repeat this process for R and Y, and then for G and C.
9. Analyzing Results
- If all wires show continuity with an ohm value near zero, your thermostat wires are in good condition.
Testing Thermostat Voltage
Sometimes, even with intact wires, the thermostat might not operate properly. In this case, checking the voltage can be helpful.
1. Restoring Connections
- Ensure all wiring is correctly restored and turn the power back on at the circuit breaker.
2. Measuring Voltage
- Set your multimeter to DC voltage and measure between the R and C wires. A normal reading should be between 24V and 28V. Deviations could indicate a faulty power supply.
How to Test a Thermostat by Bypassing the Wires

This method helps determine if the thermostat itself is faulty, assuming the power supply is adequate.
To check if power is reaching your thermostat, you can perform a bypass test. This involves removing the thermostat cover to expose the wiring and then follow the guideline below.
1. Power Safety
- Again, ensure the power is off at the circuit breaker.
2. Bypass Testing
- Connect the R and W wires and turn the power back on. If the furnace operates, the wiring is likely fine. Repeat this for R and Y (to test the AC) and R and G (to test the fan).
3. Diagnosing the Issue
- If the furnace, AC, and fan operate during the bypass test but not when connected to the thermostat, it’s likely that your thermostat needs replacing.
Recognizing a Faulty Thermostat
Some of the several signs of a faulty thermostat, include inaccurate temperature readings, HVAC system malfunctions, and uneven heating or cooling.

Conclusion
Testing thermostat wires is a valuable skill for any homeowner. It empowers you to understand and potentially fix minor issues without the need for immediate professional intervention.
Remember, safety is paramount, so if you’re unsure at any stage, don’t hesitate to consult with a professional.