One great way to revamp any bathroom is by upgrading and replacing old fixtures. Swapping out certain fittings can give it a new feel and functionality, so it can easily refresh your space without too much fuss.
That is if the said old fixtures aren’t stuck in place.

Stuck bathroom fittings can be particularly annoying, in our opinion, because they add another layer of complication to an already complex task.
Using force is tricky since you’ll most likely be in a precarious position. This is why you might need the best techniques to get the job done.
In case you’re struggling with your shower, here are some effective steps on how to remove a stuck shower head:
Quick Navigation in this Resource
1. Try to determine why your shower head is stuck
In case you are just really going to replace your shower head and you don’t want to do go back to your local hardware to buy new shower pipes, try to determine what is keeping your shower head stuck in place.
Knowing the cause will help you know which cleaning agent to use to clear out the area.

If your showerhead is stuck because of mineral deposits from the hard water in your area, get a plastic bag that is big enough to cover your showerhead then half-fill it with white vinegar.
Place the showerhead inside the bag then secure the bag to it to give it a nice vinegar soak.
Make sure that the stuck part is also soaked in vinegar. Let it sit for a few hours and the deposits will melt and allow you to remove the showerhead with ease.
In case you are replacing your old shower head because it is already rusting, then you will need a different solution to deal with what is causing it to be stuck in place.
In this case, grab some baking soda and vinegar to deal with the rust.
Sprinkle some baking soda on a sponge, then pour a small amount of white vinegar to it. Place the sizzling sponge on the rusted area.
If the rusted area is a bit big, move the sponge around slowly to put some of the solution all over. Rub the sponge down a bit to further introduce the mixture to the area and loosen up the corroded parts.
This can then make them come off with more ease.
Once you have removed the deposits, you can then try turning the shower head to remove it and place a new one in its place.
2. Use a lubricant
If you cannot determine why your shower head is stuck in place, then you are better off using a lubricant to remove it.
A silicone lubricant spray will help loosen up the stuck bits in between the threads of your shower head, making it easier to unscrew and remove from where it is stuck.
To use this item, spray directly on the shower head threads and let it sit for a bit. Try not to get the lubricant in other areas so you can easily grab onto the shower head to remove it.
If it did get to other areas, get a dry cloth or rag and wrap the shower head with it before you try to unscrew the fixture to get it out of the shower arm.
3. Grab a strap wrench
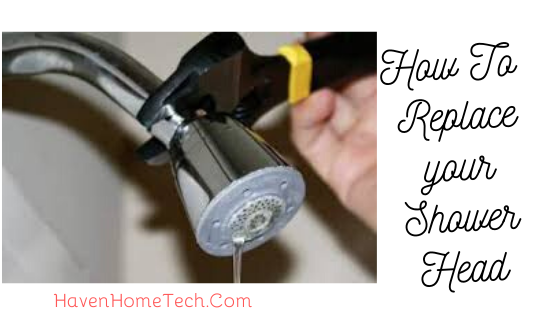
Shower head still not budging? You might need to use some force at this point, so grab a strap wrench.
Strap wrenches are wrenches that are equipped with a rubber or polyester strap for gripping into the things that you want to unscrew.
It’s a common plumbing tool and is a better choice than regular wrenches for removing fixtures because they won’t scratch and indentations in the fixtures that you’ve removed. So if they’re still in great shape and can still be used, they won’t look beaten up as a result.
Using a strap wrench is also very easy. You don’t have to struggle with the clamping part to secure the thing you want to grab hold onto as its strap is very easy to adjust.
To remove your shower head with this tool, you just need to attach the strap securely to the shower head. Place it on top of the threads so you can efficiently apply force in the said area.
Once firmly in place, twist the wrench counterclockwise. If it turns, keep turning and you’ll be able to remove the shower head with ease.
4. Use a pipe wrench
In case your shower head is really stuck in its place, you might need some drastic measures to take it out. For this, you can grab a pipe wrench and go at it.
Use a length of steel pipe to get extra torque and have a better hold on the tool.
Note, however, that this tool can and will scratch your fixture. So if your shower head has a shiny or plated finish, then it’s very likely that its coating can get chipped.
If you don’t have any issues with that, then, this method can work for you.
5. Remove the shower arm instead and replace it with a new one too
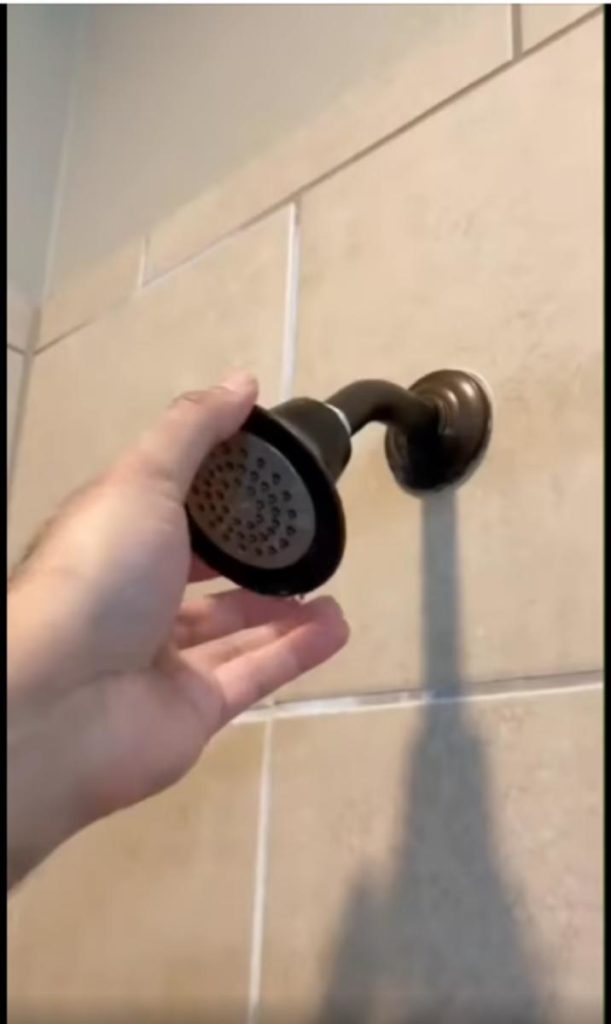
If all else fails, you might be better off by removing the shower arm instead. This can be a bit tricky if you have a large shower head but if you don’t have another choice, it’s the best option available.
To do this, you just really need to twist and turn the shower arm to dislodge it from where it’s tightly secured to on the wall.
Some like to pry off the cap that is attached to the wall before turning, others don’t think it’s a necessary step. It’s up to you whether to do it or not.

The easiest way, however, to remove a shower arm is by using a pipe wrench or a plumber’s wrench. Use it to grab hold onto the arm, at a point that’s near the wall, then start turning counterclockwise.
Once it’s loose enough, you can already continue turning it using your hand and eventually remove it entirely from the wall.
We know a stuck fixture can feel daunting to deal with if you don’t know how to remove a shower head. These tips, however, are all from experts so you can be sure that they’ll be useful for your own home maintenance requirements.
In Conclusion
The removal of your shower head may be called for when doing a replacement.
Faulty shower heads may lead to consumption of excess water in your house. Water conservation pivotal for sustainability.
Wondering which showerhead for low water pressure to get for your bathroom?